Let me begin by saying that I do not enjoy the act of painting. I do, however, enjoy having a completed, comfortable, and fun nest. To get from A to B…painting must be done!
In this case, the house was complete except for the small crack den looking master bathroom that I hadn’t gotten around to yet.
I’d been putting it off this entire year, but my husband asked me to have it completed as a birthday present to him. He did help with the paint roller part, but the trim work was the part I was dreading!
So I put on my ugly “painter girl” shirt, which actually is an old shirt of his that he wore on our first date to church, and has paint splatters all over it now. It is my painting uniform. We got it knocked out in our spare time.
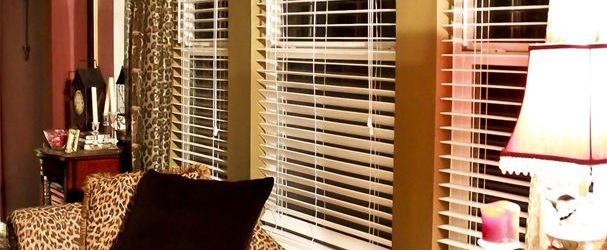
I’d wanted to add some character to the small area, so I opted for metal decor candle sconces as well as a metal trim piece above the window instead of curtains.
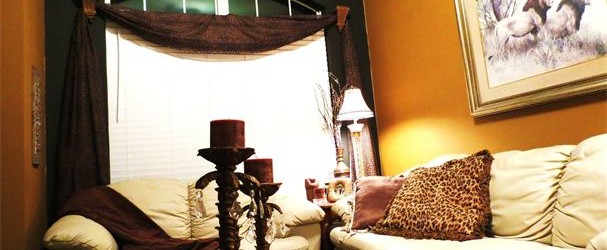
I find the garden tub area to be so much more inviting and soothing with the darker color, which is a black paint named Francesca by Martha Stewart, which is also in the master bedroom, kitchen, and the fire place wall in the living room.
When adding things such as towels or art…I had decided to be thrifty and use what I already owned. However, one trip to Kirkland’s for some additional pieces was all it took to complete the look.
For example, the crystal hurricane lamp, I already owned, but the silk floral arrangement for the tub area, I purchased. The crystal ball shown below and the metal wall piece I already had.
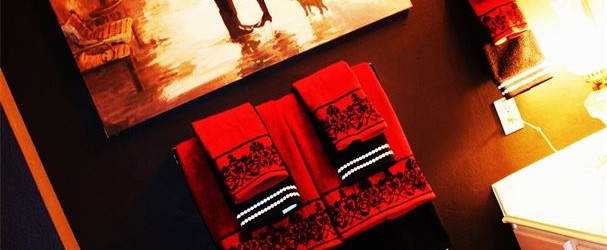
The decor towels are mismatched on purpose to try and create an undesigned, old world look. Using the old multi colored runner that I dug out of the back of a closet, also helped to add to the old world look.
So how much did the bathroom re vamp end up costing me? Just under $250, including paint and painting supplies!
It was my intent to focus on yard projects this summer, as well as a few other DIY type projects (like maybe hitting the gym again)but I am so glad to have this bathroom project complete! Happy Birthday, Ken…your private sanctuary is complete!
-SDS
June 22, 2013